
3 posts tagged with "Text-to-Image AI"

View All Tags

· 5 min read
DahnM20

Streamlining Image Generation with OpenAI's GPT Image and AI-FLOW

Integrating OpenAI’s GPT Image model (gpt-image-1) with AI-FLOW significantly streamlines your creative processes, allowing efficient, repeatable, and parallelized image generation. This comprehensive guide outlines practical steps for setting up a GPT Image workflow within AI-FLOW, highlighting benefits such as customization, parallelization, scalability, and the convenience of using your personal OpenAI API key.

AI-FLOW Workflow Setup for Merging Characters into Scene

Understanding OpenAI’s GPT Image (gpt-image-1)

GPT Image, OpenAI’s advanced text-to-image model, excels at creating high-quality, realistic visuals directly from textual descriptions. It empowers creators to easily generate detailed illustrations, concept art, and graphics on demand. Its intuitive usage via text prompts allows extensive creativity and flexibility, making GPT Image a valuable asset for visual content generation.

Generated Scene Featuring Two Droid Cat Characters Meeting

Why Integrate GPT Image into AI-FLOW?

AI-FLOW is a visual workflow platform enabling users to build powerful AI-driven solutions effortlessly. Integrating GPT Image into AI-FLOW unlocks several strategic benefits:

  • Customizable and Repeatable Workflows:
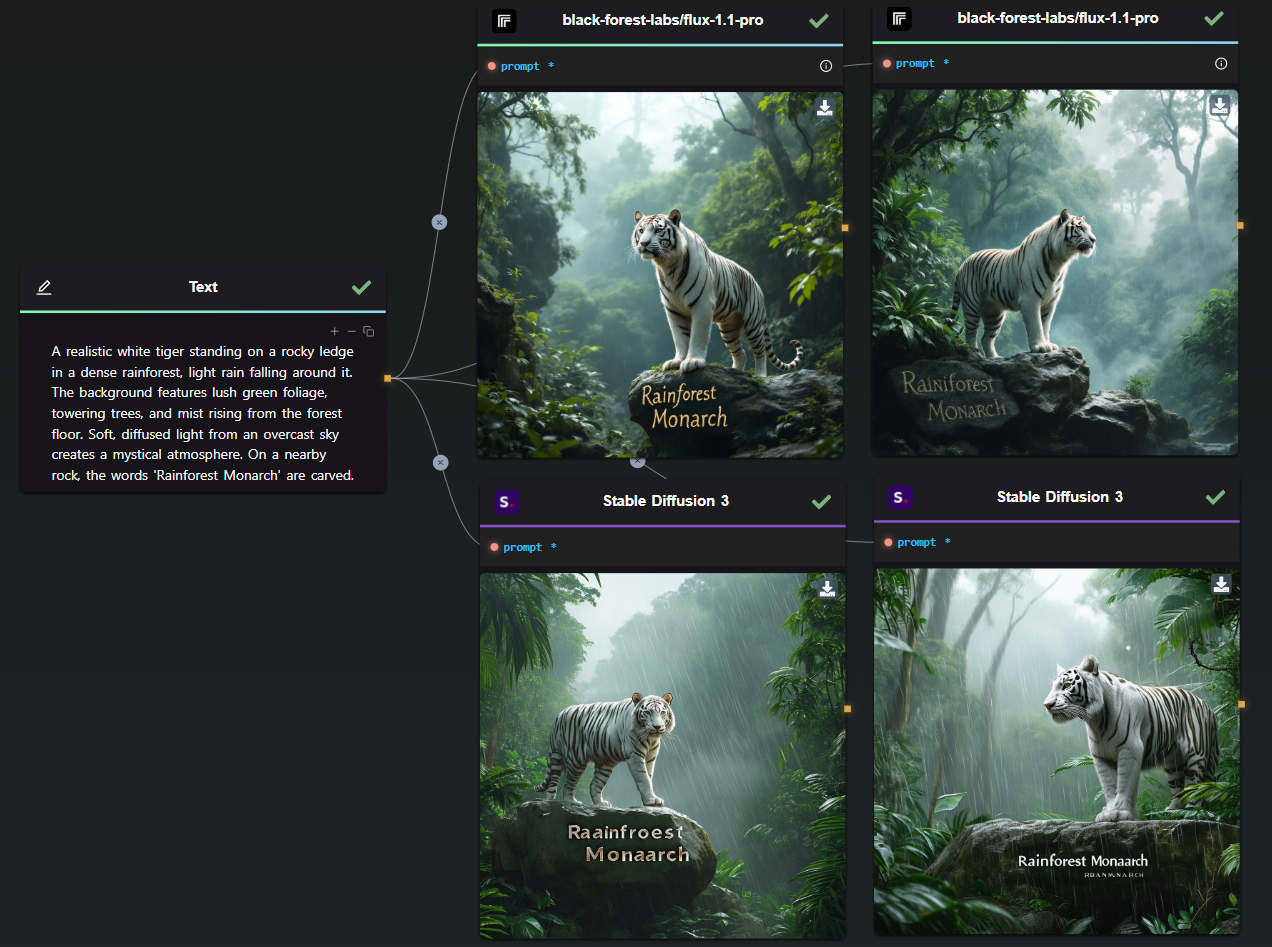
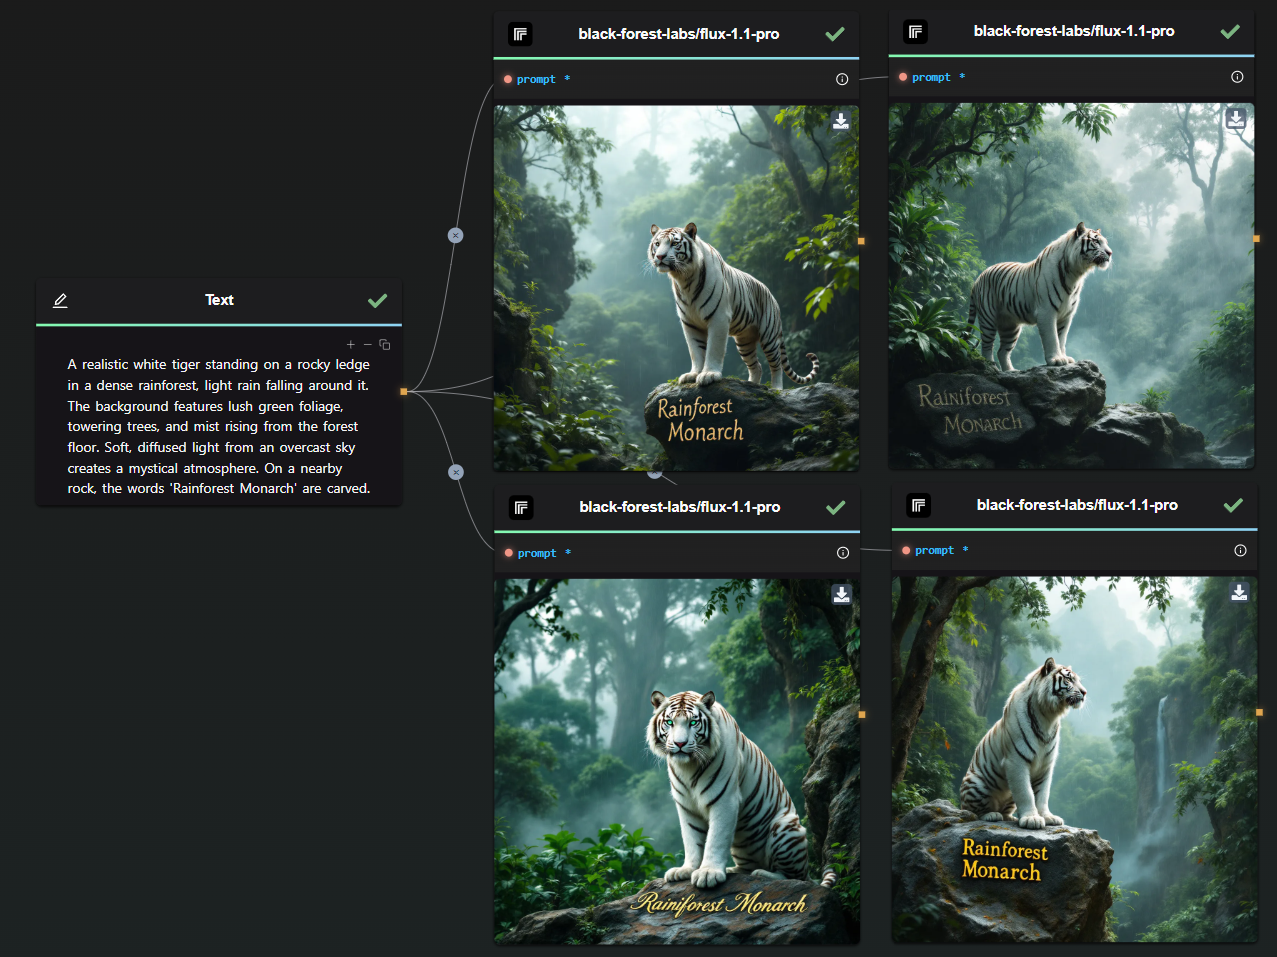
    Create tailored workflows to match your exact requirements, ensuring consistent image generation each time you run the workflow.

  • Parallelized Image Generation:
    Generate multiple unique images simultaneously, significantly reducing production times and enhancing productivity.

  • Personal API Integration:
    Use your own OpenAI API key, allowing complete control over your usage, costs, and access management.

AI-FLOW Subflow Loop Example

How to Set Up Your GPT Image Workflow in AI-FLOW

Here's a detailed step-by-step approach to setting up your GPT Image workflow:

Step 1 (optional): Obtain OpenAI API Access

  • Register or log in to your OpenAI account.
  • Access your API dashboard to retrieve your unique API key specifically for GPT Image.

Step 2: Access AI-FLOW and Create Your Workflow

  • Navigate to AI-FLOW and log into your account (or create a new one if necessary).
  • Initiate a new workflow from the dashboard to begin your GPT Image integration.

Step 3: Integrate and Configure the GPT Image Node

  • Add the OpenAI GPT Image node into your AI-FLOW workspace by dragging and dropping it from the node library.
  • Configure the node with your API key, and set parameters such as:
    • Prompt: Clearly define your image requirements.
    • Image Size & Style: Adjust resolution, aspect ratio, and any stylistic preferences.
    • Variations: Add multiple nodes if you want to generate multiple images in one-shot.

Step 4: Design Your Workflow Logic

  • Enhance your workflow by integrating additional nodes:
    • Prompt Preprocessing: Automate prompt refinement or variations.
    • Post-processing Images: Apply filters, resizing, cropping, or watermarking automatically.
    • External Integration: Connect seamlessly with other AI models or services for further automation.

Step 5: Execute and Optimize Your Workflow

  • Run your GPT Image workflow and instantly generate multiple images in parallel.
  • Monitor results and fine-tune parameters, ensuring optimal quality and consistency in outputs.

Advantages of Parallel and Repeatable Workflows in AI-FLOW

Using GPT Image within AI-FLOW allows you to significantly scale and streamline your image generation workflows through:

  • Parallel Processing:
    Generate dozens or even hundreds of images simultaneously, perfect for batch-processing large projects quickly and efficiently.

  • Repeatability:
    Set workflows once and reuse them indefinitely, ensuring consistency across projects and saving considerable setup time.

Practical Applications of GPT Image and AI-FLOW Integration

Leveraging GPT Image with AI-FLOW can revolutionize various creative and commercial endeavors:

  • Marketing Visuals:
    Quickly create diverse marketing visuals, advertising images, and social media graphics. (Example Workflow for Clothing Images)

  • Storytelling and Illustration:
    Consistently generate characters and scenes for graphic novels, children’s books, and digital storytelling projects. (See Consistent Character Workflow)

  • Product Design:
    Produce quick visual prototypes, mockups, and conceptual artwork rapidly.

  • Educational Content:
    Generate visual aids, infographics, and teaching materials tailored specifically to your curriculum.

Best Practices for Optimal GPT Image Workflow Results

  • Clearly articulate your text prompts, specifying details about appearance, style, colors, and context.
  • Utilize high-quality reference descriptions or initial images for better outcomes.
  • Regularly refine and update workflow parameters based on previous outputs to continually enhance quality.

Conclusion

Integrating OpenAI’s GPT Image with AI-FLOW provides a powerful solution for streamlined, parallelized, and repeatable image generation. This combination ensures greater control, productivity, and scalability, enhancing creativity across various applications, from marketing and storytelling to educational content creation.

Experience the efficiency firsthand—get started today on AI-FLOW and unleash the potential of GPT Image in your workflows.


· 4 min read
DahnM20

AI-FLOW introduces the "Generate SVG" template, a ready-to-use template designed for seamless creation of scalable vector graphics. Currently powered by the Recraft V3 SVG model, this template takes text-based inputs and converts them into high-quality vector images across a variety of styles. With regular updates to ensure cutting-edge performance, this guide will show you how to leverage this tool for your design projects.

AI-FLOW Template - Base ImageAI-FLOW Template - Base Image

Why Choose the "Generate SVG" Template?

With its advanced text-to-image model, the "Generate SVG" template redefines how scalable vector images are created, offering speed, precision, and adaptability. Here’s why this tool stands out:

1. Speed and Efficiency

This template generates detailed vector graphics from simple text prompts in seconds.

2. Versatility Across Styles

Whether you're creating corporate logos, digital artwork, or marketing visuals, the template supports a diverse range of styles and outputs tailored to your needs.

3. Scalable Outputs

Scalable vector graphics (SVGs) ensure sharpness and clarity at any size—ideal for both web and print applications.

4. User-Friendly Design

Even beginners can produce stunning results. With intuitive controls, users can adjust parameters and experiment with styles effortlessly. Customize further by adding nodes or integrating GPT for optimized or generated prompts.

How to Use the Template

Getting started with the "Generate SVG" template is simple:

  1. Input Your Text Prompt: Describe the image you need, e.g., "cartoon style drawing of four women gathered around a round table in an office setting."
  2. Adjust Parameters: Choose the image dimensions (e.g., 1024x1024) and specify the desired style, if needed.
  3. Generate and Export: Let the template process your inputs to create ready-to-use SVG files.

Recraft SVG Template

Transformative Use Cases

  • Branding: Create unique, professional-quality logos and icons.
  • Marketing: Design eye-catching visuals for social media and campaigns.
  • Web Development: Generate scalable images for UI components or website graphics.
  • Education: Produce illustrative content for teaching materials and presentations.
AI-FLOW Generated ImageAI-FLOW Generated Image

Start Using the "Generate SVG" Template in Your Workflows with AI-FLOW

AI-FLOW empowers users to create, automate, and experiment with AI-driven tools effortlessly. Whether you’re building workflows, combining AI models, or automating content creation, AI-FLOW simplifies complex processes for professionals and beginners alike. With the Recraft V3 SVG model, creating stunning vector images is easier than ever.

Get started for free on AI-FLOW App and explore the endless creative potential of the "Generate SVG" template. Revolutionize your workflows and elevate your designs with cutting-edge AI technology.


Additional Resources

For more insights and tutorials, check out these resources:

· 8 min read
DahnM20

FLUX 1.1 Pro: A Comprehensive Guide

FLUX 1.1 Pro, the latest advancement in generative AI technology developed by Black Forest Labs, is now available through the Replicate Node in AI-FLOW. In this guide, we'll explore how FLUX 1.1 Pro can revolutionize your projects, how to run it, and how it compares to other popular models like its predecessor, FLUX Pro, and Stable Diffusion 3.

Why Choose FLUX 1.1 Pro?

FLUX 1.1 Pro is three times faster than FLUX Pro, offering significant improvements in image quality, prompt adherence, and diversity. It sets a new standard in AI-driven image creation, making it an excellent choice for both seasoned developers and beginners across a range of applications. FLUX 1.1 Pro is currently the best text-to-image model available.

OCR Workflow with Amazon Textract

Source: Artificial Analysis

Comparing FLUX 1.1 Pro to FLUX Pro and Stable Diffusion

Choosing an AI model requires understanding how it measures up to other available options. Let’s use a sample prompt to illustrate the capabilities of these models:

A realistic white tiger standing on a rocky ledge in a dense rainforest, light rain falling around it. The background features lush green foliage, towering trees, and mist rising from the forest floor. Soft, diffused light from an overcast sky creates a mystical atmosphere. On a nearby rock, the words 'Rainforest Monarch' are carved.

This prompt provides enough elements to thoroughly evaluate each model's precision and creativity.

FLUX 1.1 Pro vs. FLUX Pro

In the comparison below, FLUX 1.1 Pro is at the top, while FLUX Pro is at the bottom.

OCR Workflow with Amazon Textract

The difference is clear: FLUX 1.1 Pro generates a more realistic-looking tiger with a richly detailed background, resulting in a more immersive scene. FLUX Pro, on the other hand, missed the text prompt in one of its generations.

Note: Each model was given a single attempt—no retakes, no cherry-picking.

  • Speed: FLUX 1.1 Pro is three times faster than FLUX Pro, making it the ideal choice for time-sensitive projects.

  • Image Quality: Improved prompt adherence and diversity mean FLUX 1.1 Pro produces superior images compared to FLUX Pro.

  • Cost: Priced at just 4 cents per image, FLUX 1.1 Pro offers a cost-effective solution for high-quality image generation.

  • Prompt Upsampling: FLUX 1.1 Pro includes an optional prompt upsampling feature for enhanced image generation. (not enabled for the test)

  • Custom Ratios: It allows more flexibility in aspect ratio customization than its predecessor.

    FLUX 1.1 First GenerationFLUX 1.1 Second Generation
    FLUX Pro First GenerationFLUX Pro Second Generation

FLUX 1.1 Pro vs. Stable Diffusion 3 Large

OCR Workflow with Amazon Textract

Again, this was a one-shot generation for each model. The results speak for themselves—FLUX 1.1 Pro significantly outperforms Stable Diffusion 3.

  • Performance: FLUX 1.1 Pro is faster and generates higher-quality images, especially in high-resolution settings.
  • Customization: Offers advanced customization options, providing greater control over output compared to Stable Diffusion.
  • Limitations: FLUX 1.1 Pro currently lacks an image-to-image feature.
  • Overall Quality: FLUX 1.1 Pro consistently delivers more precise and visually appealing results.

FLUX 1.1 Pro with Prompt Upsampling

For curiosity’s sake, here’s a comparison with prompt upsampling enabled:

Prompt Upsampling

By analyzing the outcome, we can infer what has been added during the upsampling process:

First Image: The focus here is on the tiger's deep, unrealistic teal eyes, giving it a mythical quality. There is a new kind of brown texture on the rock, making it appear less perfect and more integrated into the environment. I also suspect that the upsampling added the large tree in the background.

Second Image: In this version, the tiger's position appears more defined. I believe the upsampling introduced the waterfall in the background, as well as the silhouette of a mountain. Additionally, the area around the tiger's head is less cluttered, making it the focal point in the now more open space. The rock also features additional texture.

In conclusion, prompt upsampling is a fascinating tool that can add significant detail, realism, and improved composition compared to a standard prompt used by someone less experienced. However, the downside is the unpredictability of the direction in which upsampling will take the image.

High Reproducibility with Consistent Prompts and Seeds

FLUX 1.1 Pro excels at generating consistent results, allowing precise image modifications by adjusting the prompt rather than relying on inpainting.

Experiment: FLUX 1.1 Pro vs. Stable Diffusion 3.5 Large

To demonstrate its consistency, we conducted a test using the same seed for all generations while making minor prompt adjustments. Below is a comparison of FLUX 1.1 Pro and Stable Diffusion 3.5 Large:

Consistency FLUX VS SD

Try It Yourself

  • Seed: 28
Prompt Variations
  1. Rainforest Setting
    A realistic white tiger standing on a rocky ledge in a dense rainforest, light rain falling around it. The background features lush green foliage, towering trees, and mist rising from the forest floor. Soft, diffused light from an overcast sky creates a mystical atmosphere. On a nearby rock, the words 'Rainforest Monarch' are carved.

  2. Mountain Setting
    A realistic white tiger standing on a rocky ledge in a dense mountain, light snow falling around it. The background features lush white foliage, towering trees, and mist rising from the moutain floor. Soft, diffused light from an overcast sky creates a mystical atmosphere. On a nearby rock, the words 'Mountain Monarch' are carved.

  3. Roaring Tiger in the Rainforest
    A realistic white tiger standing on a rocky ledge in a dense rainforest, its mouth open in a powerful roar. Light rain falls around it. The background features lush green foliage, towering trees, and mist rising from the forest floor. Soft, diffused light from an overcast sky creates a mystical atmosphere. On a nearby rock, the words 'Rainforest Monarch' are carved.

N.B : Do not enable prompt upsampling when you want to achieve consistent results.

Key Observations

FLUX 1.1 First GenerationFLUX 1.1 Second GenerationFLUX 1.1 Third Generation

FLUX 1.1 Pro maintains high consistency with the same seed, allowing precise control over individual elements. For instance:

  • The tiger remains in the exact same position, even when the background changes entirely.
  • Adjusting the tiger’s mouth does not significantly alter the background.

By contrast, Stable Diffusion tends to regenerate the entire image when changing the background, making it harder to maintain consistency.

Consistency Beyond Landscapes

This level of control extends to character consistency as well. While not always flawless, FLUX 1.1 Pro performs exceptionally well when the prompt is structured correctly.

Check out our in-depth guide on generating consistent AI characters: Read more.

Start Using FLUX 1.1 Pro in Your Workflows with AI-FLOW

AI-FLOW is a powerful platform where you can connect multiple AI models seamlessly, automate processes, and build custom AI tools without extensive coding knowledge. Whether you’re automating content creation, experimenting with various AI models, or managing data, AI-FLOW has the tools you need to streamline your projects.

You can easily experiment with FLUX 1.1 Pro by using the Replicate Node in AI-FLOW. Simply drag the node into your workflow and start generating stunning images in seconds.

Ready to Transform Your Projects with FLUX 1.1 Pro?

Get started for free and explore the potential of FLUX 1.1 Pro by visiting AI-Flow App. Unleash your creativity and take your projects to the next level with the power of AI-driven image generation!


Additional Resources

For more detailed information, refer to the following resources:

OSZAR »